Corel Paintshop Pro 2018 Draw Box


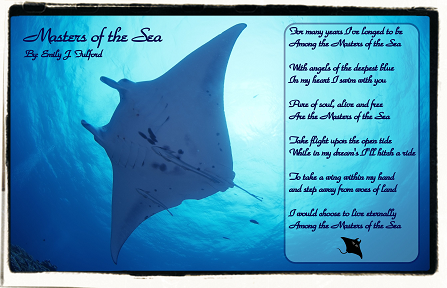
Welcome to this tutorial on adding text and graphics to your PaintShop Pro photo projects. PaintShop Pro has many useful tools that will allow y'all to add together text, graphics, objects and borders which will turn an ordinary picture into a creative work of art.

You lot will larn how to:
- Add text.
- Import a graphic.
- Utilize preset shapes.
- Layer opacity.
- Adding a border.
Getting Started
1. Open up PaintShop Pro and brand certain that you are using the Edit Workspace.

2. Open the prototype that you will be using equally your groundwork.

Calculation Text
one. Text tin can be copied into PaintShop Pro from other programs such as word processors, e-mails or websites. Select all the text and so copy past using the key combination Ctrl C on your keyboard.
ii. Select the Text tool from the Standard toolbar and click over the paradigm effectually where the text will go. It doesn't take to be perfectly accurate as you will be able to move the text box later.

All the options for text in PaintShop Pro announced in the Interactive Backdrop toolbar at the summit of the screen, including Fonts, Size, Styles and other common text properties. Yous tin change these settings earlier or afterwards placing your text.

3. Utilise the key combination Ctrl V on your keyboard to paste the copied text.
iv. To make changes to the text you will outset need to highlight it.
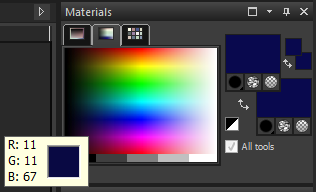
5. Colour can be changed in the Materials Palette. In this example, the fill up and the outline colour volition be made the same by correct-clicking and and then left-clicking on the dark bluish.
half dozen. To move the text, click the center of the text box using the Choice tool and elevate the text to position.
7. A great play a trick on when creating a championship is to simply highlight that item role of the text; then, when you change the font size or other text properties, they will employ only to the function that has been highlighted.

8. To arrange the text so that information technology lines up, you lot can create a guideline by dragging the mouse cursor down from the ruler at the superlative of the screen, over the image.
This line volition non appear in the terminal saved paradigm, nor will information technology be printed if you print your final project.
Importing a Graphic:
1. Open up the file containing the graphic and then, from the selections menu, cull Select A' ll or use the fundamental combination Ctrl A on your keyboard.

2. Re-create the image using
3. Click on the tab where your project is.
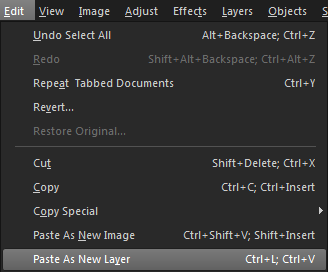
iv. From the Edit bill of fare select Paste equally New Layer.
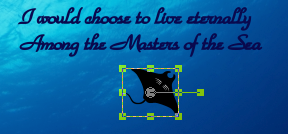
By pasting the graphic as a new layer, y'all will be able to motion it around and hands resize it at any fourth dimension while working on your projection. five. Identify this prototype but below the text and resize it past dragging the corner handles.
Using Preset Shapes: Allow'due south frame the text box to make information technology stand out. one. Click on the
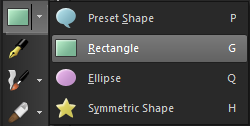
2. Draw a rectangle around the edge of the text and the graphic. When you let go of the cursor the rectangle will automatically create its own new layer.
3. With the rectangle selected, right-click on a color in the
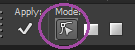
4. To round the edges, click on the Manner tool, select a corner handle and pull along the line.
5. Use the To bring downward the transparency of the layer and make the rectangle blend in with the groundwork.
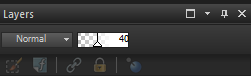
Opacity can range between "0" and "100" percentage and can be applied to any layer in PaintShop Pro. Last just not to the lowest degree, the correct border will be the crowning glory of the piece. 1. From the
ii. In that location are many motion-picture show frames to choose from, in this case nosotros volition exist using the Cross Procedure frame.
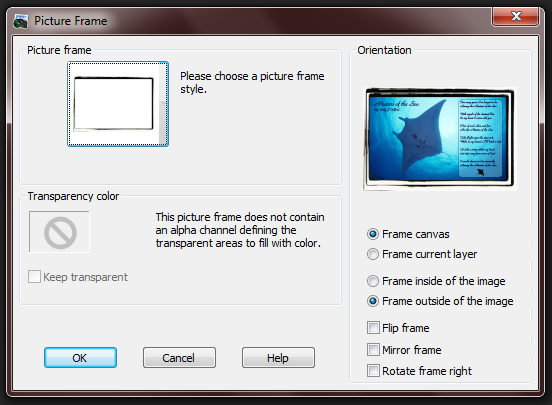
three. Make sure that you have selected to place the frame outside the image, that way it will not cutting off any of the flick or text you have created. Subsequently finishing a collage or multi-layer projection such equally this, be sure to salvage every bit a PSPIMAGE file, that style if y'all wish to return at a later time and make changes, your layers will remain intact. To create a version that tin be sent to friends or shared online, get back to Whenever you salvage a multi-layer project as a JPEG y'all volition get a bulletin warning and this is to explain that a Jpeg tin only contain a unmarried layer. Click
If you lot have enjoyed this tutorial, exist certain to check out the other tutorials that are available in the Discovery Center. If you have any ideas for tutorials or projects that you would like to see in the future, please leave u.s. some Feedback."
Source: https://kb.corel.com/en/127295